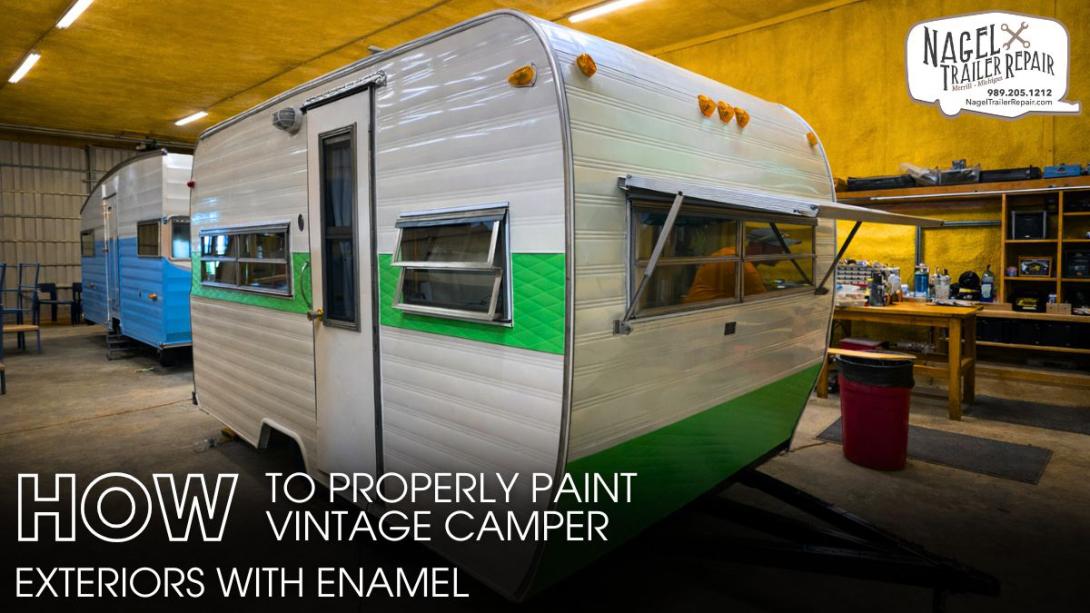
A well-painted camper exterior can completely transform both its appearance and durability. In this guide, we have discussed the right way to use enamel paint so you can achieve a smooth, professional, and long-lasting finish. When you follow a structured process and pay attention to detail, you avoid common mistakes and get results that truly stand out.
You should begin by cleaning the camper thoroughly to remove dirt, grease, and any built-up residue. A clean surface ensures that the paint bonds properly and doesn’t peel over time. Once cleaning is complete, sanding becomes essential. It helps eliminate imperfections, smooth out rough areas, and remove old, flaking paint. This step creates the ideal base for the next stages.
After sanding, applying a high-quality primer is crucial. Primer improves adhesion, enhances durability, and ensures that the enamel paint spreads evenly across the surface. Skipping this step can lead to uneven color and reduced lifespan of the paint job.
When you start painting, you should focus on applying thin, even coats. Rushing the process or applying thick layers often results in drips and uneven textures. Allow each coat to dry completely before applying the next to build a clean, glossy finish.
Enamel paint not only enhances the camper’s appearance but also provides strong protection against weather, moisture, and UV exposure. It helps preserve the structure and keeps your camper looking fresh for years. If you want to eliminate guesswork and achieve flawless results, choosing vintage camper repair in Michigan can provide expert craftsmanship and a finish that truly lasts.