
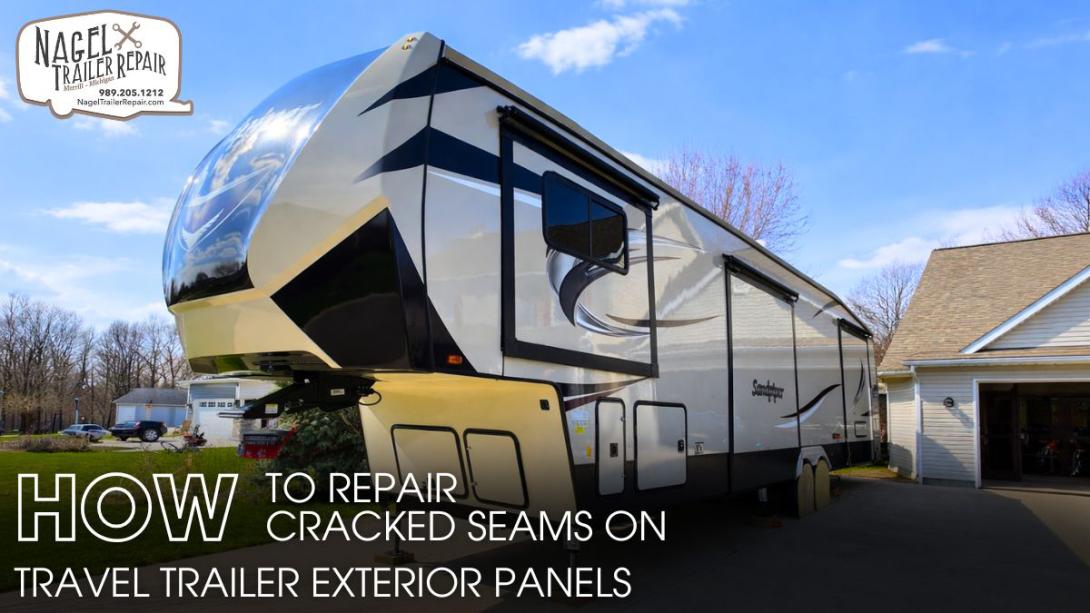
Exterior seam damage is one of the most overlooked maintenance issues for travel trailer owners, yet it is one of the most critical. Your trailer’s seams are constantly exposed to sun, rain, wind, and road vibration. Over time, sealants dry out, lose flexibility, and begin to crack. Once this happens, water intrusion becomes a serious threat that can damage insulation, wall framing, and interior finishes.
The repair process starts with a careful inspection of every exterior seam. Pay close attention to roof edges, side panel joints, corner moldings, and areas around windows or vents. Even small cracks can allow moisture to enter. After identifying damaged seams, proper cleaning is essential. Remove old sealant, dirt, and oxidation so the new material can bond securely to the surface. Skipping this step often leads to premature failure.
Next, apply a high-quality RV-approved sealant designed for exterior panels. These sealants remain flexible and can withstand temperature changes and road movement. Apply the product evenly and work it deep into the seam to create a watertight barrier. In high-stress areas, seam tape can provide extra reinforcement and long-term protection. Always allow the sealant to cure fully before traveling or exposing the trailer to water.
Routine maintenance helps prevent future problems. Inspect seams seasonally and after long trips to catch early signs of cracking. If you notice widespread damage or signs of moisture inside the trailer, professional service is recommended. A dependable RV repair Michigan shop can identify hidden issues and ensure repairs are done correctly.
In this guide, we have discussed reliable methods to repair cracked seams on travel trailer exterior panels and protect your RV from costly damage.