
Printer Carriage Jam is one of the most common and frustrating issues that users face when using printers at home or in the office. It can halt your printing tasks, waste paper, and even damage your printer if not handled carefully. The good news is that most carriage jams can be resolved quickly with a few simple steps, without the need for professional help. In this DIY guide, we’ll walk you through how to troubleshoot and fix a printer carriage jam in minutes, ensuring your printer is back to smooth operation.
Understanding Printer Carriage Jam
Before diving into the repair process, it’s important to understand what a printer carriage jam is. The printer carriage is the component that moves the ink or toner cartridges across the paper. A jam occurs when this carriage gets obstructed or stuck due to paper misalignment, debris, worn parts, or incorrect cartridge installation. When the carriage cannot move freely, the printer often displays an error message and refuses to print until the issue is resolved.
Knowing the cause of the jam can make it easier to prevent future occurrences. Common causes include:
- Paper misfeeds or folds – Papers that are wrinkled, folded, or improperly aligned can block the carriage.
- Debris or dust – Small bits of paper or dust inside the printer can obstruct movement.
- Worn or faulty cartridges – Damaged or improperly seated cartridges can hinder the carriage’s path.
- Mechanical issues – Over time, belts and gears that drive the carriage may wear out or become misaligned.
Understanding these causes is key to effectively resolving a printer carriage jam without causing further damage.
Safety First
Before you begin any DIY repair on your printer, safety should be your top priority. Make sure the printer is turned off and unplugged from the power source. This prevents accidental shocks or damage to the internal components. Additionally, handle the cartridges and internal parts with care to avoid ink spills or scratches.
Step-by-Step Guide to Fix Printer Carriage Jam
Follow these steps to quickly resolve a printer carriage jam:
Step 1: Open the Printer Cover
Start by carefully opening the printer’s top or front cover to access the carriage. The exact method may vary depending on your printer model, so consult your manual if needed. Opening the cover fully ensures you have enough space to inspect and move the carriage.
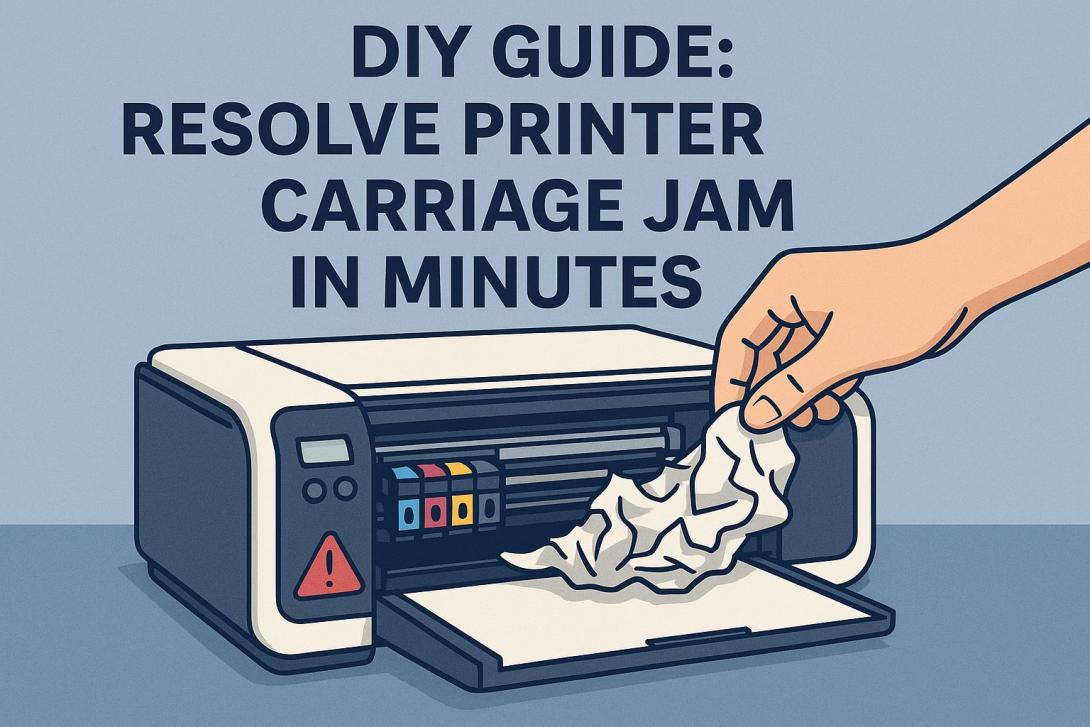
Step 2: Remove Paper or Obstructions
Check for any jammed paper or foreign objects inside the printer. Gently pull out any stuck sheets in the direction of the paper path to avoid tearing. Even a small fragment of paper left behind can trigger another jam, so inspect carefully. Use a flashlight if necessary to see hidden debris.
Step 3: Inspect the Carriage
Once the area is clear, examine the carriage itself. Ensure that the ink or toner cartridges are seated correctly and not loose. Check for any signs of damage, such as broken clips or misaligned parts. If the carriage does not move freely when pushed gently by hand, there may be a mechanical issue that requires further inspection.
Step 4: Clean the Printer Internals
Dust and tiny paper bits are common culprits in carriage jams. Use a soft, lint-free cloth to clean the rails and surrounding areas. Avoid using liquids unless specified in your printer manual, as this can damage the electronics. Compressed air can also help blow away dust particles in hard-to-reach spots.
Step 5: Reinstall Cartridges and Close the Cover
After clearing any obstructions and cleaning the printer, carefully reinstall the cartridges. Ensure they click securely into place. Then, close the printer cover and plug it back in. Power on the printer to test if the carriage moves freely and the error message has cleared.
Step 6: Test Print
Run a test print to ensure everything is functioning correctly. Observe the carriage movement and listen for unusual noises. If the printer prints without errors, congratulations! You’ve successfully resolved the jam.
Preventing Future Printer Carriage Jams
Preventing a printer carriage jam is often easier than fixing one. Here are some tips to keep your printer running smoothly:
- Use quality paper – Avoid wrinkled, damp, or low-quality paper that may misfeed.
- Regular cleaning – Periodically clean the carriage rails and printer interior to prevent dust buildup.
- Proper cartridge handling – Always install cartridges correctly and avoid mixing old and new cartridges.
- Avoid overloading – Do not overfill the paper tray, as this can cause misfeeds.
- Routine maintenance – Follow your printer’s maintenance schedule for optimal performance.
By following these preventive measures, you can reduce the likelihood of printer carriage jams and extend the lifespan of your printer.
When to Seek Professional Help
While most carriage jams can be fixed at home, there are cases where professional assistance is necessary. Consider contacting Printer Customer Service if:
- The carriage still does not move after following the DIY steps.
- You notice mechanical damage or broken internal parts.
- The printer continues to show error messages despite clearing jams.
- You are unsure about disassembling sensitive components.
Professional technicians have the tools and expertise to handle complex issues safely and efficiently.
Conclusion
A Printer Carriage Jam can be a minor inconvenience if addressed promptly and correctly. By following this DIY guide, you can troubleshoot, clear, and prevent jams in just a few minutes. Regular maintenance, careful handling of cartridges, and attention to paper quality go a long way in keeping your printer operating smoothly. If the problem persists or escalates, reaching out to Printer Customer Service ensures your printer receives the proper care and keeps your workflow uninterrupted.